A successful first month of trading doesn't look like what you imagine: no big wins, no magic setup, just methodical progress, week after week, from demo account to your first real trades at minimum size. This tutorial gives you a step-by-step walkthrough, without skipping steps, to build a solid foundation before risking your capital.
- The first month breaks into 4 distinct weeks, each with a precise, limited objective.
- The demo account validates the mechanics, it's not for 'practicing' indefinitely without purpose.
- Minimum size isn't symbolic: it's a necessary step to prove your execution.
- Your first weekly review matters as much as your first trade itself.
Many trading tutorials focus on 'how to read a chart' or 'how to place an order', important technical skills that say nothing about how to structure your learning over time. This guide takes the opposite angle: it gives you a concrete chronological walkthrough, week by week, for your very first month of trading.
The idea isn't to follow this calendar to the exact day, every path differs, but to understand the progression logic behind it: validate, then simulate, then execute at small scale, then analyze. Skipping one of these steps to go faster is the most common, and the most costly, mistake among impatient beginners.
Before week 1: choosing your broker and instrument
Before even opening a chart, two decisions shape everything that follows: which broker and which instrument. Your broker choice should prioritize execution reliability, fee clarity and reputation, rather than promises of bonuses or maximum leverage, which are often red flags rather than advantages. A regulated broker with an established track record beats an unknown one promising conditions too good to be true.
Choosing your instrument should follow the same principle of caution: a single market, with volatility and hours you can actually follow given your schedule. A beginner who works during the day and can only watch the market in the evening should pick an instrument active at those hours, rather than one that mostly moves while they sleep. This consistency between your real schedule and the chosen instrument avoids a lot of frustration in the first weeks.
Week 1: the demo account and the platform
The first week has a single goal: familiarize yourself with the platform's mechanics, not make virtual money. Open a demo account and spend time exploring every function you'll use live: placing a market order, placing a limit order, setting a stop loss and take profit, and above all understanding how to read your open position and its real-time result.
This week is also for observing the market without acting, or acting very little, to spot the hours when your chosen instrument moves most, how it reacts to major economic announcements, and its typical rhythm of movement. Many beginners burn through this step by placing dozens of demo trades with no real intention, which teaches nothing more than a few days of attentive, methodical market observation.
Understanding order types, concretely
A market order executes immediately at the best available price, useful when you want to enter without delay but exposing you to slight slippage in a fast market. A limit order waits for a precise price before executing, giving you control over your entry price but no guarantee of execution if the market never returns to that level. Understanding this difference practically, not just theoretically, avoids costly surprises on your first live trades.
| Order type | What it does | When to use it |
|---|---|---|
| Market order | Immediate execution at available price | Urgent entry, liquid market |
| Limit order | Waits for a precise price before executing | Control over entry price |
| Stop loss | Closes the position at a defined loss level | Systematic protection, on every trade |
| Take profit | Closes the position at a defined gain level | Locking in a target set in advance |
Stop loss and take profit aren't optional extras reserved for advanced traders, they're mandatory elements of every trade from the very first one, on demo as much as live. Getting into the habit of setting them systematically, before you even enter a position, anchors a reflex that will protect you later, when emotion makes it tempting to 'wait and see' without a defined stop.
Week 2: paper trading a simple setup
Once you've mastered the platform's mechanics, the second week focuses on a single simple setup, applied through paper trading, meaning simulating trades without actually executing them, on your chosen instrument. The goal is to verify you can identify this setup consistently, without seeing it everywhere or missing it when it actually appears.
This week is also when you start your journal, even in paper trading: logging every setup you spot, whether it truly matched your criteria or not, and what the market did afterward. This early journal, before real money even enters the picture, already gives you a dataset on your ability to recognize your setup, valuable information before moving to the next step.
What 'small size' concretely means
The phrase 'trade small' often stays abstract for a beginner. Take an illustrative example to make it concrete: a 1,000 euro account with risk set at 1% per trade means a maximum risk of 10 euros on each position, whatever the instrument. Concretely, that means calculating, before every entry, the position size that corresponds to those 10 euros given the distance between your entry point and your stop loss.
This calculation, purely illustrative here, changes depending on the instrument and the stop distance chosen, but the principle stays constant: position size is never set arbitrarily, it always flows from the euro risk you accept to lose on that specific trade. A beginner trading 'small size' without doing this calculation actually risks an amount that varies wildly from trade to trade, without knowing it.
Week 3: your first live trades at minimum size
The third week marks the move to live trading, but with deliberately minimal size, often the smallest unit your broker allows. The goal still isn't to make significant money, it's to observe how your behavior changes when real money, even a small amount, is on the line. Many beginners discover at this stage that their demo discipline doesn't hold up under the pressure, even light, of real money.
This is precisely the most valuable information of this week: if you notice yourself deviating from your plan at minimum size, imagine what would happen at a bigger size. This week acts as a psychological stress test before increasing anything, and it often reveals flaws invisible on demo, like the urge to close a winning position too early out of fear of watching it turn.
Week 4: your first weekly review and adjustments
The fourth week introduces a ritual that should become permanent: the weekly review. Take time, outside market hours, to reread your journal from the past four weeks as a whole, not trade by trade. Look for patterns: did you respect your plan most of the time? Did your setup prove reliable? Did your emotional state noticeably influence certain decisions?
This review leads to concrete adjustments for the following month: maybe tightening your setup because it generates too many false signals, maybe revisiting your risk because it makes you uncomfortable, maybe identifying a time of day when you systematically trade worse. These adjustments, made cold after stepping back, are worth far more than any correction made mid-trade in the heat of emotion.
Common mistakes of the first month
Certain mistakes come up almost systematically among beginners during this first month, and knowing them ahead of time helps you avoid them. The most common is wanting to jump straight to week 3, trading live from the first days because demo 'gets boring', which skips the essential mechanical validation and exposes you to avoidable execution errors. Another classic mistake is switching setups mid week 2, at the very first failed configuration, when the whole point of that week is to test a single setup with consistency.
The third common mistake touches size: many beginners increase their size as soon as they string together two or three winning trades in week 3, before even reaching the first weekly review. This impatience erases the whole point of a slow progression: two or three winning trades prove nothing statistically, and increasing size on that basis amounts to betting on luck rather than on execution proven over time.
After the first month: what now?
By the end of this structured first month, you have a journal, a first experience with real money, and a review pointing to precise adjustments. The temptation is strong to sharply increase size at this stage, driven by the urge to go faster. That's a classic mistake: one month of data, even good data, remains too small a sample to prove truly reliable execution over time.
The logical next step is to repeat this weekly cycle for several more months, increasing size very gradually, month after month, only when the journal confirms consistent execution over an extended period. This pace can feel slow against the impatience of the start, but it's precisely this deliberate slowness that separates traders who last from beginners who blow up their account trying to accelerate a learning curve that can't be forced.
How Tradoshi helps during your first month
Tradoshi is designed to support exactly this kind of progression, week after week, making every step measurable rather than approximate. The journal automatically captures your trades from week 3 onward, the risk calculator gives you the exact position size for your capital, and the built-in weekly review structures your week 4 without you having to improvise a format.
- Connected journal to your broker (MT4/MT5) or via CSV import, active from your first live trade.
- Position size calculator that translates your percentage risk into concrete units to trade.
- Structured weekly review to step back over your whole set of sessions, not trade by trade.
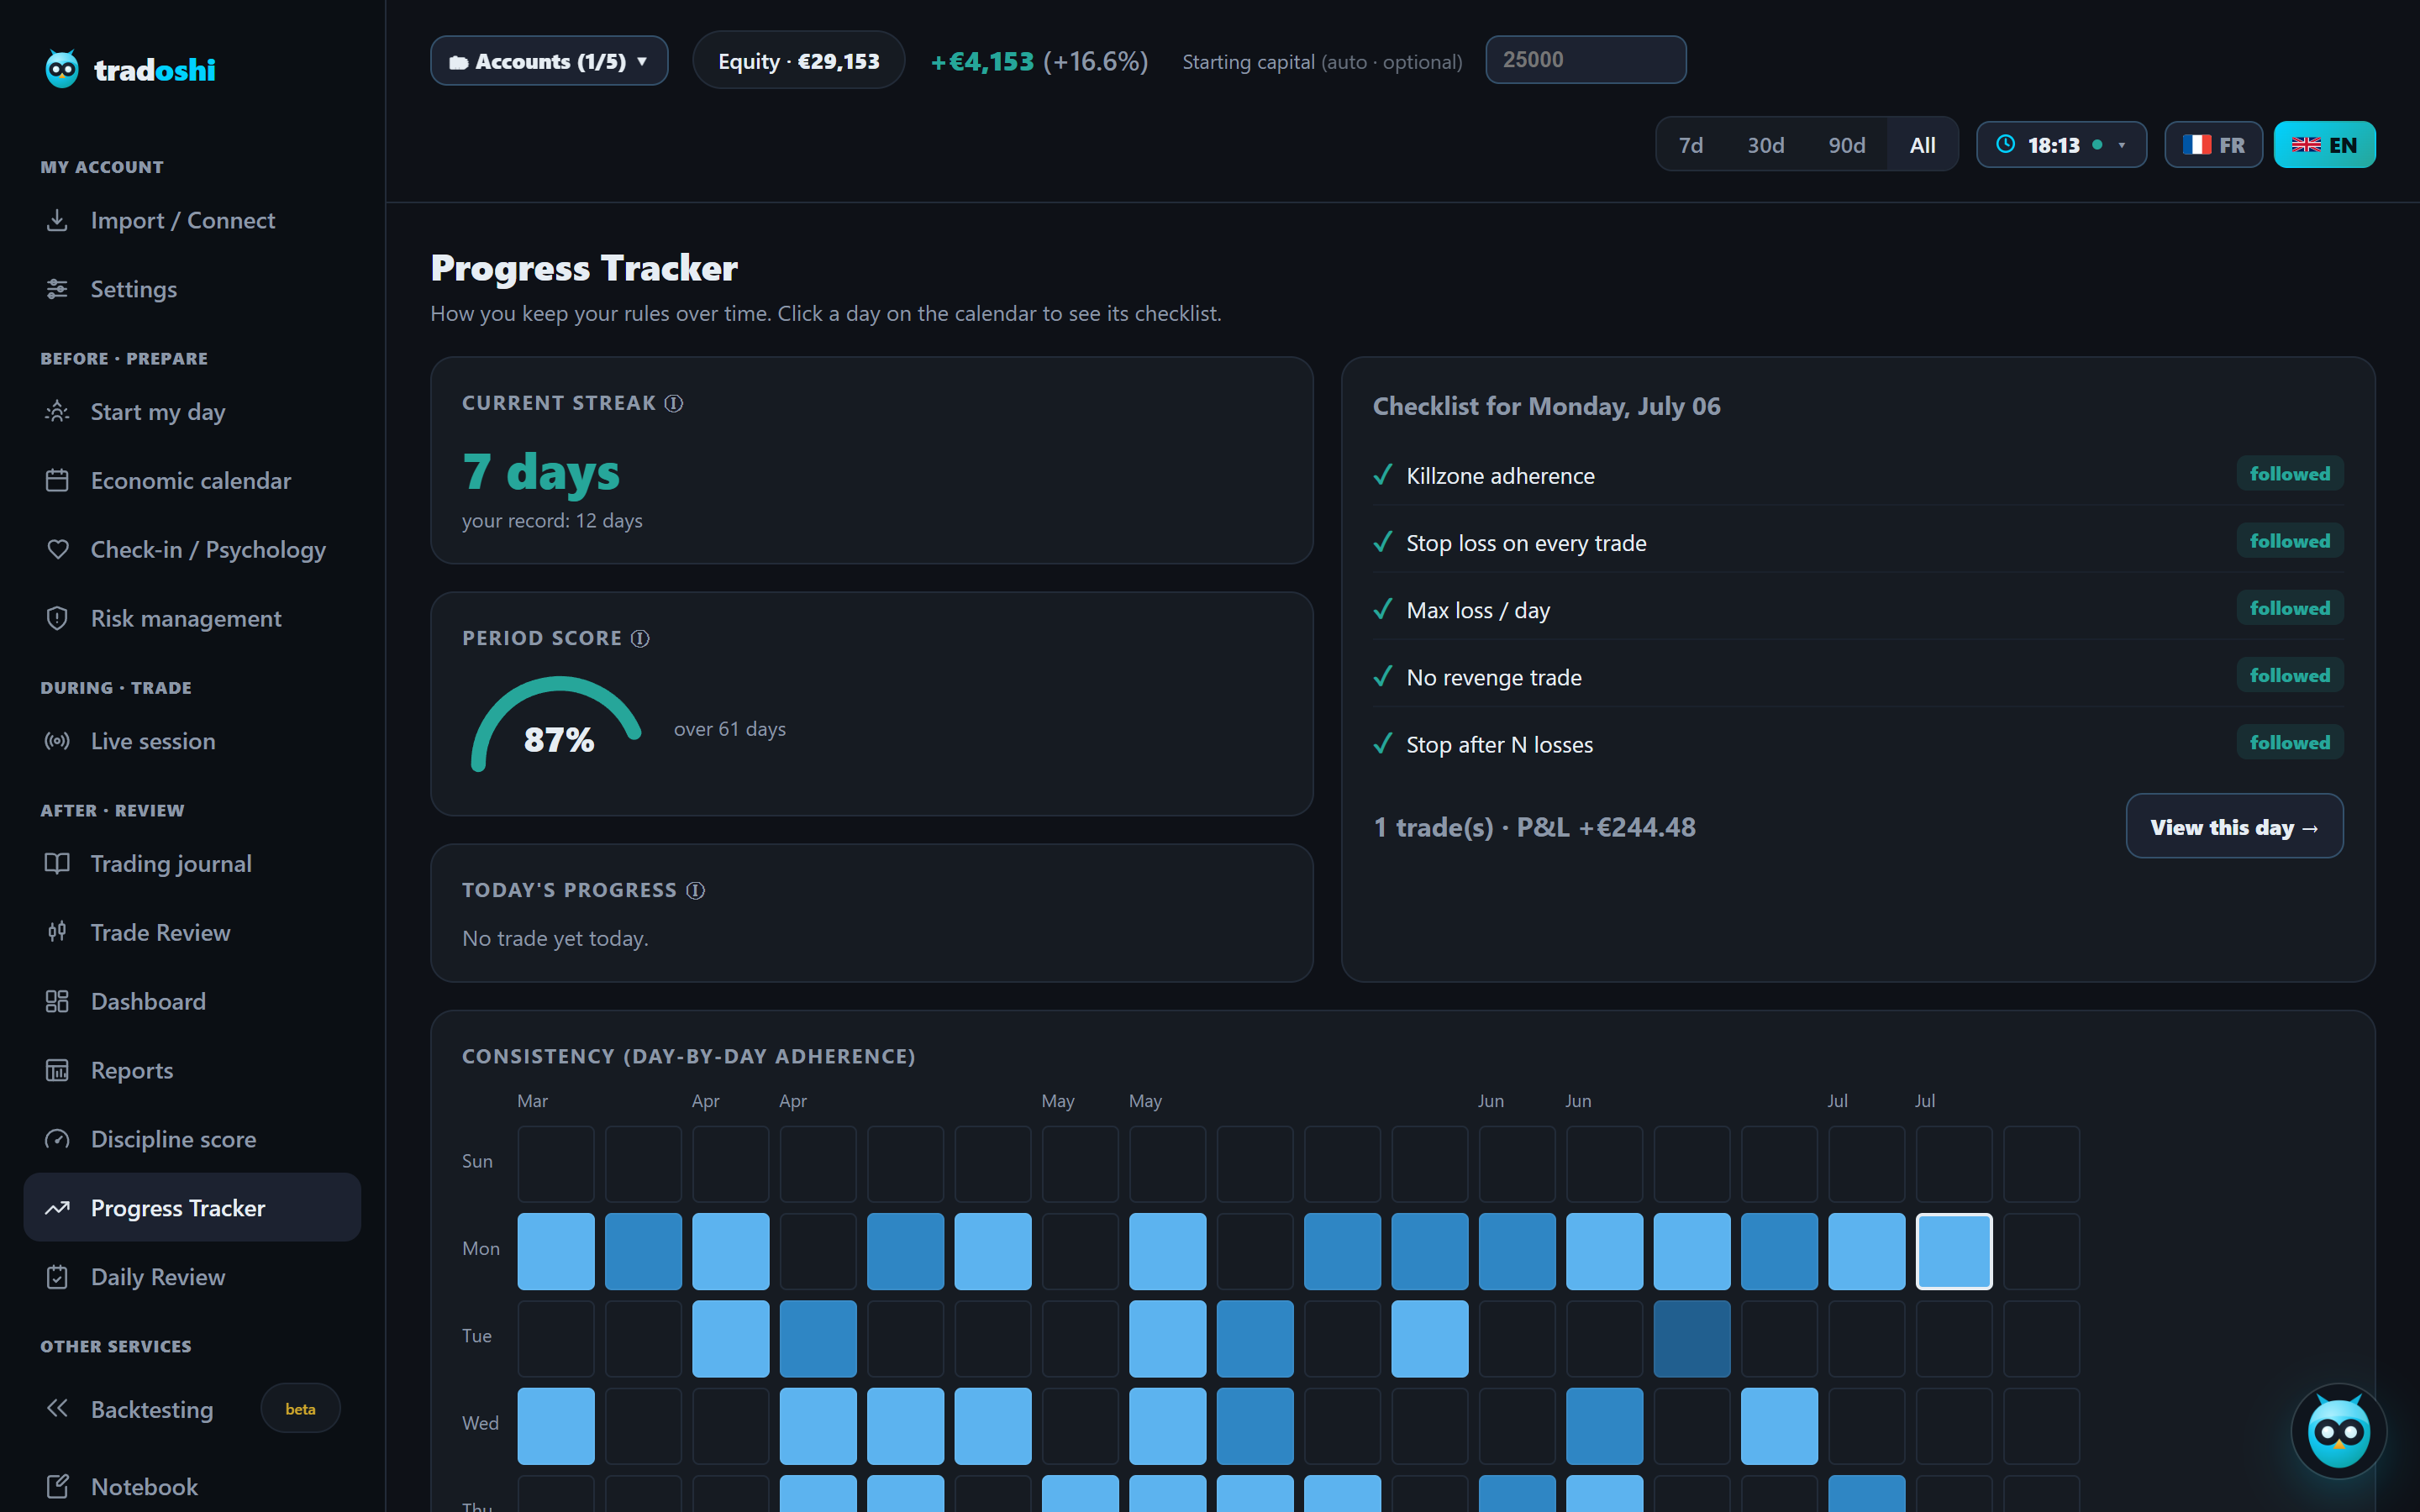
- Progress tracking that visualizes your evolution month after month, to adjust size on facts, not impatience.
Frequently asked questions
How long should you stay on demo before trading live?
There's no universal duration, but the goal of demo is to validate the mechanics of the platform and your orders, not to 'practice' indefinitely. A dedicated, focused week is usually enough for this validation before moving to paper trading and then to live trading at minimum size.
What exactly is paper trading?
Paper trading means simulating trades, logging what you would have done and the result, without actually executing an order. It's an intermediate step between demo (which validates the mechanics) and live trading (which tests your psychology), useful for verifying you identify your setup consistently.
How do you calculate a minimum position size?
Start from the euro risk you accept per trade (for example 1% of a 1,000 euro account, so 10 euros), then divide that amount by the distance in points between your entry and your stop loss. Position size always flows from this calculation, never from an arbitrary choice.
Why trade live if the size is minimal?
Because even minimum size exposes you to psychological pressure demo doesn't reproduce. This week acts as a stress test: if your discipline deviates with a minimal stake, it will deviate more with a bigger one, essential information before increasing size.
What should a first weekly review contain?
A reread of your whole week of trades, not trade by trade: did you respect your plan most of the time, did your setup prove reliable, did your emotional state noticeably influence certain decisions. This review leads to concrete adjustments for the following week.
Can you increase size as early as the second month?
Only if the journal confirms consistent execution over an extended period, not based on a single good month. One month of data remains too small a sample to prove reliable execution over time, and increasing too fast is the most common mistake among impatient beginners.